Showing posts with label Weaving. Show all posts

Monday, June 13, 2016

Karen Q's Uluru Scarf

Dimensions: 6' by 8" wide (with 3" fringe on each end)
Completed: November 2014

The warp is one skein of Knitting Fever Uluru (cotton, acrylic, polyester) in color #11 Ammonite. The weft is one pick of the Uluru alternating with two picks of Classic Elite Vail (baby alpaca and bamboo viscose) in color #6436 Sand. I only needed one skein each of the Uluru and the Vail. The Vail gave the scarf have a really nice soft texture.

Scarf on the loom
I originally started by using only the Vail for the weft, but it was just making the scarf come out looking too white. So I ripped out the two inches or so I had already done, and started over again alternating two picks of the Vail with one pick of the Uluru. I think it turned out to be a very nice subtle effect for the color.

This is all done in plain weave -- nothing fancy, like the two tweed scarves I made earlier in 2014. I guess I needed a break!


Monday, May 16, 2016

Luigi's Locks Grass-Green Bouclé Scarf

Dimensions: 8" wide by 72" long, plus 4" fringe at each end
Completed: February 2016
The raw material

I wove this scarf in a straightforward plain weave on my rigid heddle loom. I didn't think it was worth trying to do anything fancy with the weave because I thought the bouclé structure of the yarn would probably obliterate any pattern I attempted. And, more importantly, the yarn was so beautiful I really wanted it to be the focus here, not the weave.
 
The warp and weft are both done in the same yarn: a hand-dyed grass-green bouclé mohair yarn called "Luigi's Locks" from Yellow Dog Farm, which I bought at the Vermont Sheep and Woolcraft Fair last summer. The yarn has little streaks of darker green and lighter yellow-green throughout.

A sample I wove on a piece
of cardboard to see if the 7.5 epi
gauge would look all right
Luigi's Locks
on the loom


This scarf probably used about 400-425 yards of wool; I had two skeins of 225 yards each, and I ended up using roughly one and two-thirds of the skeins.

When I measured its gauge, it looked like Luigi's Locks was roughly a worsted weight  I used a 7.5 dent reed and tried to keep to roughly 7.5 ppi so that it could be a pretty loose, open weave; I did this both so the fabric wouldn't be so stiff, and also so there would be plenty of room for the little bouclé loops to poke out in all directions. I warped the loom with 62 ends of 8.5 yards each.

The scarf was about 8.25" wide on the loom, and about 8" off the loom. I wove the scarf out to about 74" long, which only ended up shrinking a tiny bit to about 72" long off the loom; maybe the bouclé loops helped it keep its size off the loom. I left 4" of fringe on both ends, which I tied off in groups of four warps each.

The final product (although this is
not what the color really looks like)
Close-up of the finished fabric


Monday, April 11, 2016

Krokbragd Sampler Coasters

Dimensions: Three coasters each 4.25" wide by 4.25" long (plus 0.25" fringe on each end)
Completed: January 2016

I was leafing through The Weaver's Idea Book by Jane Patrick one day, and came upon a section on Norwegian krokbragd. It was intriguing: krokbragd is a weft-faced weave, and I had never done a weft-faced weave before. And it is also a twill weave. The combination seemed like a mind-stretching challenge for my rigid heddle loom (my only loom).

I warped with 8/5 cotton rug warp, 37 ends 5' long. I used two 7.5 dent heddles and set them up for the three-pick-repeat twill weave, which is two-up-one-down for the first two picks and then plain weave for the third pick.

For the colors that made up the patterns, I decided to use the five little balls of sampler yarns I had bought at the Vermont Sheep & Woolcraft Fair from the proprietress of Tidal Yarn. She gets her yarn from small New England sheep farms and dyes much of it using plants she grows in her own garden. I knew that I would quickly run out of yarn if I didn't have a larger amount for my background color, so I also bought one skein of JaggerSpun Heather 3/8 sport weight yarn in Sagebrush to use for that.

I chose colors and designs on the fly as they appealed to me, weaving 9 picks (or a total of 3 krokbragd rows) between each design. I ended up trying out almost all of the patterns in Patrick's book (except for the guitars), and then I invented a few of my own--some of which were successful, and some not so much. These were my two most successful designs:


I wove 7 picks of plain weave with the carpet warp at the top and bottom of each coaster, and left about 3" of space between each one so I could give them a fringe. Each coaster ended up being about 4.25" square on the loom, and about 4" square after I took them off the loom (not including the carpet warp edges).

Krokbragd results in really beautiful geometric patterns. The frustrating thing about it (which Patrick does warn you about) is that because of the twill structure plus the weft-faced nature of the style, it takes three picks to actually make one row of weave. This means it progresses really, really slowly. I had planned to make four coasters, but by the time I had gotten through my third, I was wiped out.

I have seen loads of impressive krokbragd rugs and wall hangings on the internet, and I have to say I don't know how the people who made them have the patience. Maybe it would be different if I had the correct loom for this type of weave.

Monday, March 14, 2016

Leno & Brooks Bouquet Scarf in Serenity Glitter Sock Yarn

Dimensions: 8" wide by 63" long, plus 3" of fringe on both ends
Completed: November 2015
 
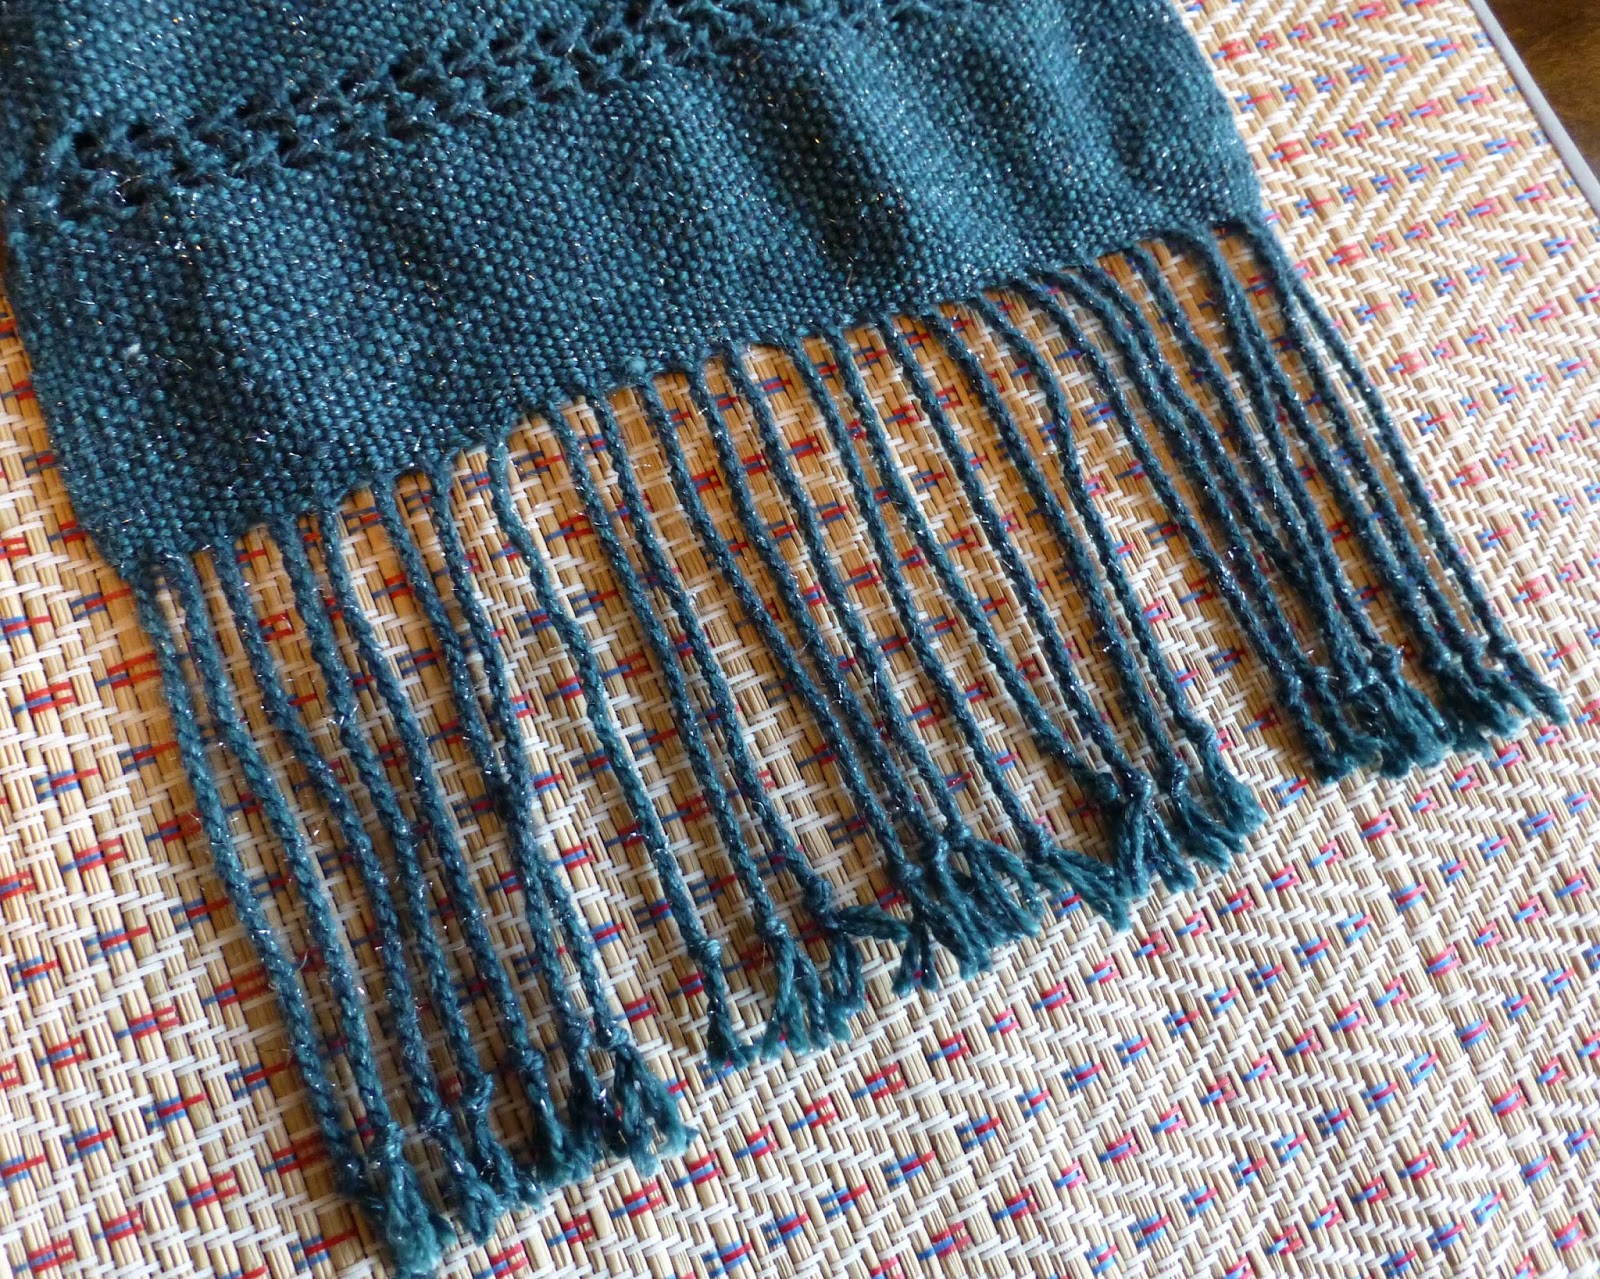
This summer I made my first-ever in-person trip to the Webs yarn store in Northampton, MA, where I bought two skeins of Zen Yarn Garden's superwash merino Serenity Glitter Sock yarn in Midnight Teal. It is a beautiful dark, dark blue-green color with little bits of silver glitter spun into it.
 
Working the pick for a row of leno
I've read a number of blog posts recently that urged me to try making a woven scarf out of sock yarn, and I'd been meaning to learn how to do some hand-picked openwork weaving on my rigid-heddle loom, so I thought the combination might be perfect for this yarn.
 
I warped my loom with 104 ends 90" long (leaving about 18" for loom waste). I set it up for plain weave using a 10 dent heddle. It was about 10 1/2" wide in the loom, but it shrank down to about 8" when I took it off the loom.
 
Once the loom was set up, I wove using this pattern:
 
- 36 picks of plain weave
- 1 row of 2:2 leno with an open shed, starting by twisting two warps over two warps
- 1 row of 2:2 leno with an open shed, starting by twisting one warp over one warp
- 20 picks of plain weave
- 1 row of Brooks bouquet where each bouquet went over four warp ends
- 20 picks of plain weave
- 1 row of 2:2 leno with an open shed, starting by twisting one warp over one warp
- 1 row of 2:2 leno with an open shed, starting by twisting two warps over two warps

I repeated that pattern 9 times, until the scarf was about 63" long, and then did 36 more picks of plain weave, and cut it off the loom.
Two rows of leno bookending
a row of Brooks bouquet

The leno and the Brooks bouquet were both really fun to do, and a lot easier to learn than I thought. I got the leno instructions from Jane Patrick's The Weaver's Idea Book. Her instructions on Brooks bouquet were a little unclearish, I thought, so I watched a couple YouTube videos demonstrating it until I felt I had gotten the idea.
I alternated how I started my leno rows because I liked the way the leno looked when the little openwork spaces were staggered from row to row better than when the spaces line up vertically.

After I had cut it off the loom, because I hadn't used enough new techniques in this scarf already, I guess, I decided to give it a twisted fringe. I'd seen twisted fringe used in several patterns in Handwoven recently, and thought it might be good in this context. I used this video by Scott Rohr to learn how to do it.

(Frustrating) twisted fringe
The twisted fringe took me forever to finish. Maybe I'm really slow twister, but it took me several hours to do all 52 separate pieces of fringe. I also don't really like the way it looks; it's spaced too far apart and it looks too controlled, too confined. I think I'm going to go back to the fluffy, organic lark's head fringe from now on!

I also think the yarn I used is a little stiff to make a really soft and comfortable scarf. It might help to use a slightly larger sett, so that the plain weave isn't quite so dense.


Everybody likes Brooks Bouquet!


The finished product


Monday, February 15, 2016

Sally's Peaceful Harbor Placemats

Dimensions: Four placemats about 12" high by 18" wide
Completed: October 2015
9-foot warp ends look very long

I made these placemats using the Peaceful Harbor Placemats pattern from Halcyon Yarn.

They wove up pretty quickly, partly because the yarns are fairly large gauge and also because the alternating between the three different colors kept it from getting too routine.

The toughest part was keeping the three shuttles in order with every pick, and not twisted around each other incorrectly, so that the selvedges looked consistent and clean.

I chose one of the recommended color combinations on Halcyon's website. These are the colors I used (which I think will go best with the color scheme in the intended recipient's kitchen):

3/2 Pearl Cotton yarn in Deep Turquoise
Cascade Luna Paints in Color #9930 (a slightly variegated turquoise)
Cascade Ultra Pima in Color #7730 (a medium purple)

These placemats are pretty easy even for a relatively infrequent sewer to finish, because you only have to fold over and then sew up the left and right edges; the selvedges, which end up as the tops and bottoms of the placemats, are good enough that you can leave them without finishing.


Placemat #3 ending,
moving into placemat #4
 
Close-up on the weaving,
still on the loom
 
The finished placemats  

Monday, January 18, 2016

Loupe Neck Band

Dimensions: 5/8" wide by 17" long (including snap hook at end)
Completed: October 2015

I made this neckband as a present for an avid mineral collector, who loves to wander through the wilderness looking at specimens through a portable field loupe. The band ends in a snap hook to which he can attach the loupe.

I picture mineral collectors far and wide being jealous of the dashing figure he presents in the field with his custom-made strap, bedecked with the tools of his trade.
 
In general, it worked out pretty well. I ran into serious tension and tangling problems, which I solved by creating home-made weights for my warp threads (described in this earlier post). And the final assemblage was a little dicey, since I'm apparently not nearly as good at working my sewing machine as I am the loom. But I feel pretty proud of it, overall.

The Pattern
Cards set up on the loom
 
I used 10/2 pearl cotton yarn from Halcyon Yarns. The main color is Ruby (#1220) and the foreground designs are in Pistachio (#1880).

The pattern uses 22 four-hole cards. The 20 middle cards are for the design itself, while the outside-most two cards (cards 1 and 22) are for the selvedges.

The selvedges are done by constantly turning the cards forward one turn with each pick, no matter what is happening with the cards in the design section of the strap.
 
It's a pleasure to see your design
come into existence
I warped the loom with 88 warp ends 70" long. I figured that would result in a 52" strap plus 18" of loom waste, and that would give me plenty for me to experiment with and still end up with a band that was a total of 34" in diameter.
 
The warp ends for the outside selvedge cards 1 and 22 were all Ruby; all the other cards were warped so that holes A and B had Ruby threads in them and holes C and D had Pistachio threads.

I created the designs for the rock hammer, the shovel, and the wearer's initials myself using Guntram's Tablet Weaving Thingy. (I will forever thank you, Guntram, for creating your Thingy.) I designed each element separately and then combined them together into one template, making sure that there were the proper number of spaces between each design element so that the edges of the shovels and hammers weren't offset by one space got kinky.

My final design; click to enlarge
In some cases I couldn't get the elements to be spaced out evenly and not have them be offset by one or three spaces so the twining was wrong and the edges got kinky. So I borrowed one of Guntram's fancy knot patterns (interlace1.gtt) and interspersed it among my hammers and shovels to make the spacing work better. 

Blocking the strap
After that, it was just a matter of finishing up the weaving itself, blocking the strap, and then attaching the snap hook.

I used a 5/8" snap hook (or, to be specific, a "Metal Silvery 0.65" Inside Diameter D-ring Lobster Clasp Claw Swivel Eye Lobster Snap Clasp Hook for Strap."

Due to some mistakes in the execution of my original plan for attaching the snap hook, I ended up cutting the strap into two pieces, one about 4" long and the other about 30" long. I fed the hook through the shorter piece, and then sewed the two pieces together, end to end, with a lot of purple thread and using the buttonhole setting, so that the cut edges of my weaving wouldn't fray. 
 
The finished product

Close-up on the adequately-finished
snap-hook end


Monday, December 21, 2015

Fishing Sinkers & Film Cannisters: The Solution to Tablet Weaving Tension Problems

Several months ago, I began a project to make a thin tablet-woven strap that would serve as a neck band for a portable loupe.

After working about eight inches of the strap, I realized that I was running into severe trouble with the twisting and tangling of the warp threads.

I didn't run into this problem with my last tablet weaving project, because it was a symmetrical pattern. If your pattern has bilateral symmetry, you don't run into tangling and tension problems because you spin the cards one way for half the design, and then you spin the cards the opposite way for the other half, gradually un-doing all the twist you have put into the warp threads, and everything works out in the end.

But with an irregular double-faced pattern like the one I was using, the design is irregular. You twist cards this way and that to get the design you want, and you might never reverse some of them. The result is that the warp threads get progressively more and more tangled. And when some threads tangle one way, and other threads tangle another way, and others don't tangle at all, then they develop vastly different tensions, and you end up with some of your warp threads drooping way down while others are too taut.

All of this makes for a horrible-looking, raggedy and uneven weave, especially when it comes to your selvedges.

And my problems were exacerbated by the fact that I was using my rigid heddle loom to do my tablet weaving, when most normal people would just buy an inkle loom and that would probably be that.

After a great deal of Googling, I arrived at what turned out to be a great answer for me, which was suggested by a post on the Weaving Spirit blog. (Or actually it was suggested by a post on that blog plus some of the comments on that post.)

The cannisters deployed, with yarn ends
and fishing sinkers tucked inside
Instead of tying my warp threads to the back bar of my loom and winding them up and expecting them to stay constant, I used home-made weights to weigh down the warp threads and keep them evenly taut.

I got 11 empty plastic film canisters and 55 one-ounce fishing weights or "sinkers." Then, two by two, I took a pair of cards, untangled their warps, wound most of the unused portion of the warp threads into a butterfly, and then stuffed the butterfly plus five sinkers into a canister and fastened the top.
The result: much more even weave
and regular selvedges

This worked like a charm. It made the warp nice and taut evenly across the whole width of the strap. It was really easy to untangle the warp threads as they got tangled periodically, and just as easy to periodically let a little bit more yarn out of the cannisters when I needed to roll down my weaving. And my selvedges came out neater than ever.

Monday, June 29, 2015

Office Supplies

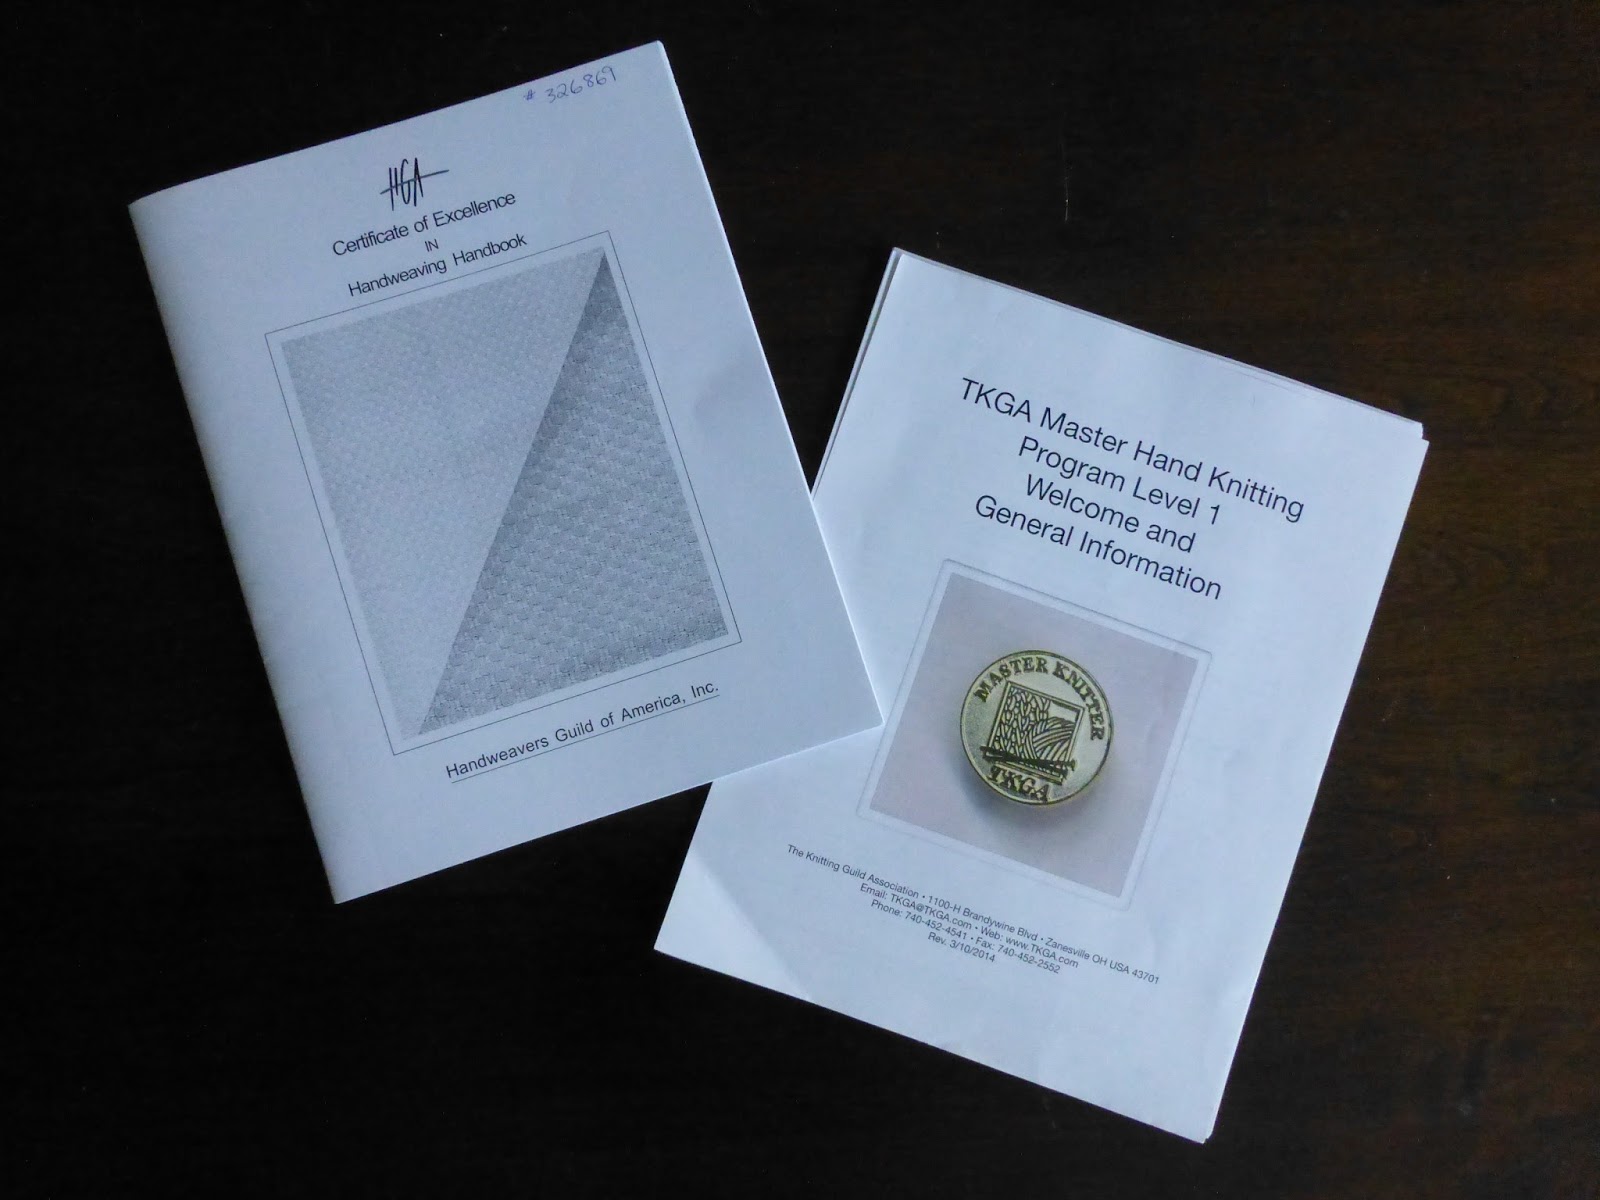
Office supplies for the HGA COE
and the TKGA MHK
I biked down to Staples and bought all of the office supplies I'm going to need for the handknitting and handweaving masters programs. It makes for quite an array.

The differences in the program instruction manuals are interesting. If I were to judge them based purely on the handbooks, the handweaving program seems a lot more organized and a lot more businesslike.

For one thing, every single item that you submit for the handweaving COE must only have your ID number on it; no names are allowed, so as not to bias the judges. They also give you a clear outline of the different sections and types of work you'll have to do for the program, and a list up front of all the materials you will need for the program.

The knitting program, on the other hand, requires you to put your name, address, email, and phone number on every single sample piece you submit. The instructions seem a bit hodgepodge; for example, the swatches themselves are described in one section and the information sheet you have to submit with your swatches is described in a different section. And the materials you need for your submission are sprinkled throughout the instructions, section by section, so you have to read through the entire thing to figure out all of what you need to gather.

Monday, June 22, 2015

A Great Leap Forward: Masters Programs

I did something rash a couple weeks ago. I bought the instruction packets for both the Master Hand Knitting Program from The Knitting Guild Association, and the Certificate of Excellence (Level I) from the Handweavers' Guild of America.

These are the two top master certificate programs in the national American guilds for these respective crafts. I realize it's a bit presumptuous of me to attempt to do both. I don't know if I'll be able to finish getting all the materials together for either or both programs in a timely manner, much less pass either one--but I'm very excited to try. My dream would be to finish the submissions for at least one of them by 2018.

Now I have to read through the packets and see what I need to get started.

Monday, May 18, 2015

Ragtime Remix Placemats

Completed: 2015
Dimensions: four placemats, each 12.5" x 17" with 1.5" fringe at each end

I made these placemats using the Ragtime Remix pattern by Carol Reinhold. They are supposed to be woven on a four-shaft loom, so I warped my rigid heddle loom with three heddles so I could do the four-shaft pattern.

Placemat fabric, close-up
This pattern is great because the weft can be any combination of scrap fabric you happen to have lying around the house. I had an old red batik tablecloth that had a big bleach stain in the middle of it so I could no longer use it as a tablecloth, but the fabric was nice, so I used that as the main color for all four placemats. I used scraps from three other smaller pieces of fabric for contrasting color. I put the red in the same places in all four placemats, but changed up where I put the three contrasting fabrics.

The warp is 8/4 carpet warp from Maysville. I used two colors, red-brown and linen, and warped them randomly.

Fabric strips rolled into balls


Reinhold shows a neat technique for cutting the fabric into one long strip: you fold the fabric in half, and sew it together at the edge, and then cut the fabric with staggered diagonal cuts to make one big cylindrical loop. The technique is described with good explanatory pictures in the pattern.

The fabric scraps are supposed to be cut into strips 1.25" wide, but I found that my batik cloth was thick enough that it actually was the same size scrunched up as the other fabric scraps when it was 1" wide, so I made it  into 1" strips and the other colors into 1.25" strips.


This is the pattern I used for the colors:
6 picks with the red-brown warp
8 picks color A
2 picks color B
2 picks color A
The four placemats, just off the loom, with 3" spaces between
2 picks color C
5 picks color A
3 picks color D
6 picks color B
3 picks color D

5 picks color A
2 picks color C
2 picks color A
2 picks color B
8 picks color A
6 picks with the red-brown warp
Total: 50 picks of fabric scrap per placemat, plus 12 picks of the carpet warp

And this is the color sequence I used for each of the four placemats. Color A is always red.
Placemat 1
The finished placemats in action
Color B = blue plaid
Color C = yellow/green
Color D = dark blue

Placemat 2
Color B = yellow/green
Color C = dark blue
Color D = blue plaid

Placemat 3
Color B = dark blue
Color C = blue plaid
Color D = yellow/green

Placemat 4
Color B = blue plaid
Color C = dark blue
Color D = yellow/green

Monday, May 4, 2015

Malabrigo Purple-Green Variegated Tweed Scarf

Completed: January 2015
Dimensions: 8" wide by 65" long (with 4" fringe on each end)

The completed scarf,
all right-side up
Continuing the rigid-heddle-tweed scarf cavalcade, I made this scarf following the model of the navy variegated tweed scarf I made in late 2014.

I bought the yarn in a very nice yarn shop in Montpelier, VT called The Knitting Studio (which truly might be "Vermont's friendliest yarn shop.") The warp is one skein of Malabrigo worsted in color #239 (Saphire [sic] Magenta) and the weft is Cascade 220 worsted wool in color #2403 (Chocolate).

The Malabrigo is 100% merino wool and a relatively bulky gauge for weaving, so it turned out to be a little bit stiff and heavy for a scarf, but the colors are really beautiful. Again, my pictures don't do it justice; the green and magenta highlights in the warp look like jewels in the sunlight.

Wrong side on left,
right side on right
I also like the contrast between the weave design
and the color: the tweed is almost a mechanical, digital pattern, but the variegation in the yarn is organic and flowing.

Tweed Detail


Monday, April 20, 2015

Navy Variegated Tweed Scarf

Completed: 2014
Dimensions: 5 1/2" wide by 62" long (with 3" fringe at each end)

The finished scarf
I went to the Vermont Sheep and Wool Festival in 2013 and in the Fiber Stash stall I found a skein of a hand-dyed alpaca blend in variegated blues that I thought was one of the loveliest combinations of colors I had ever seen. Having forgotten to bring any cash, I had to borrow money from a friend to buy the skein.

Tweed pattern detail
I used the skein as the warp for a scarf, and used one skein of worsted-weight Malabrigo Arroyo in Prussian Blue as the weft, since it matched one of the colors in the variegated alpaca.

I made my scarf on a rigid heddle loom using two 10-dent heddles. I warped the loom for a three-shaft tweed (1-2-3 repeat), and wove it in a two-up, one-down staggered tweed pattern.

It turned out to be a lovely scarf, and the Malbrigo went perfectly with the hand-dyed yarn. Because I used the two-up, one-down tweed, one side is dominated by the Malbrigo blue and the other side is dominated by the hand-dyed yarn, but I think that makes for a nice effect when it's wound around somebody's neck. The pictures here show the warp pattern, but definitely do not do the colors justice.

The scarf in action


Monday, March 9, 2015

Shetland Tweed Sampler Scarf

Completed: Spring 2014
Finished Size: 6" wide by 57" long (plus 3" fringe at each end)

Finished scarf under observation
I have just gotten into weaving relatively recently. I took a beginner's weaving class at the 2013 Vermont Sheep & Wool Festival, and we all got to keep the small (14" x 14") frame looms we used in the class. After playing with that for a couple months, it was so much fun that I bought a small (16") rigid heddle loom.

Of course, because I like to make everything more complicated, eventually plain weave wasn't enough and pick-up sticks were too labor-intensive for the designs I wanted to do. So I bought two more heddles and the book Weaving with Three Rigid Heddles by David B. McKinney, so I could make three- and four-harness tweed patterns on my rigid heddle loom.

This scarf is my first attempt to do a real garment this way. 

The pattern is a pretty basic diamond tweed repeat using four harnesses (or, in my case, three heddles).

The warp is two balls of Jamieson Shetland Spindrift in mooskit. There are 72 ends (including 2 selvedge ends) and I used three 10-dent reeds.
The diamond tweed pattern

The weft is a random collection of six balls of Jamieson Shetland DK (in grouse, moorland, pine, osprey, willow, and sage) I had lying around for years after finishing a fair isle vest. I figured this would be a good way of using them up. Not all of them were used in the vest, and I wasn't sure how they were going to go together, but, hey, it's a sampler. This is the color repeat I used:

Tweed pattern detail
6 picks grouse
30 picks moorland
6 picks pine
30 picks osprey
6 picks willow
30 picks sage

I figure it is inevitable that someday I will end up with a sixteen-harness loom.


The scarf in action


Monday, November 24, 2014

Keychain Bus Pass Holder

Completed: October 2014
Finished Size: 4-1/8" x 2-1/2"

The finished bus pass holder
I don't have a car, so I travel almost everywhere by public transportation. I had been keeping my bus pass on my keychain in a leather holder that I bought in 1996, and it was raggedy and sorely in need of replacement. I've been playing with tablet weaving recently, so I decided to try making a tablet-woven bus pass holder.

I used 3/2 Pearl Cotton from Halcyon Yarn in ruby (#122), bali (#164), and wintergreen (#181). I only needed one 180-yd mini-cone of each color, and that was way more than enough. Pearl Cotton has a nice shiny texture which seemed like it would be great for sliding in and out of pockets and bags easily, and for not picking up a lot of debris from the street.

Guntram's Egyptian Diagonals #4
For the pattern, I used Egyptian Diagonals #4 from Guntram's Tabletweaving Thingy. Because this pattern was only 28 cards wide, and I needed 40 cards for it to be wide enough to hold my bus pass, I repeated the last two cards on each side six more times each, alternating the two colors every two cards. I replaced Guntram's light gray with the bali, his red with the ruby, and his black with the wintergreen.

Cards set up on the rigid heddle loom
Instead of stringing the entire tablet weaving setup across the room, like it seems most tablet weavers do, and leaving it vulnerable to interference by my cat, I set it up on my rigid heddle loom instead. My small loom doesn't leave much room for the yarn to twist downstream of the tablets, but it is secure and comfortable and easy to stow when necessary.

After setting up the cards on my loom, I wove for five and a half pattern repeats, or about 10", using the bali green for the weft. Since I'm new to tablet weaving, I wanted to make it long enough to give myself plenty of options for where to cut the band in case I messed up.
Finished strap (wrong side)
Finished strap (right side)
After removing it from the loom, I turned it over to check out how the pattern had come out on the reverse side of the weaving, and I have to say that I almost decided to use the reverse side of the weaving as the front, because it was so cool and geometric.

I machine-stitched across the band on either side of the best part of the weaving at 8-1/4" apart. Then I cut across the band just outside of the machine stitching, so I had a little mini section of the band a little bit longer than 8-1/4" long.
I put black binding tape over the two ends of the band, and machine-sewed them down across the band. Then I cut a thin piece of Velcro, about 1/4" wide and 2" long. I sewed the two sides of the Velcro across the ends of the band, on the inside of each end.

Then I folded the piece in half, inside out,  sewed up both side as far towards the edges as possible, and turned it right-side out. And voilà.

Fits two cards with ease, safely secured with a Velcro closure!
I didn't have a great solution for getting it on my key chain, so I just bought a tiny key loop from the hardware store and stuck it through the weaving at the edge of the holder, just underneath the binding tape, and put my keyring through it. It is working so far, although it might not wear very well over the long term. Maybe next time I'll leave space in the weaving to put in an eyelet.